Use a simple side-lit setup and a clean background for a clear product image. This worked guide uses a small reproducible example so you can check the result before adapting it to your own task.
ก่อนเริ่มต้น
- A camera or phone
- A window with soft daylight
- A plain background
- White card or paper
คำแนะนำทีละขั้นตอน
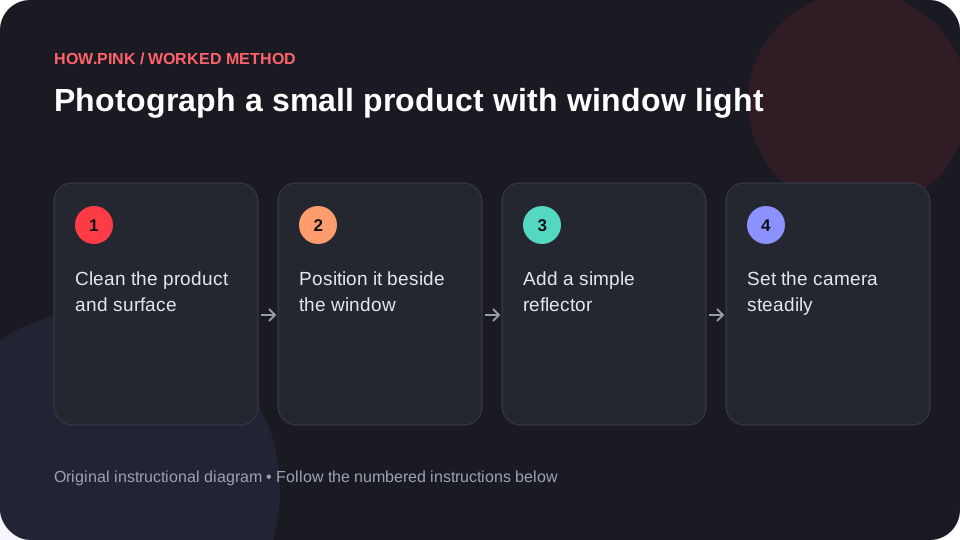
Clean the product and surface
Remove visible dust and fingerprints using the product’s care instructions. Place it on a plain surface with enough space around the edges.

Position it beside the window
Put the window to one side rather than directly behind the camera. If direct sun creates hard patches, move to a softer part of the light or use a different time.
Add a simple reflector
Place white card opposite the window to brighten the shadow side. Move it closer or farther away and watch how the product shape changes.
Set the camera steadily
Rest the camera securely or use a suitable support. Frame the whole product, check focus on an important detail and avoid using digital zoom when you can move the camera.
Review the actual image
Inspect the image at a useful size. Check sharpness, color and whether the product edges are clear, then adjust the angle or background before taking the final set.
เคล็ดลับและการแก้ปัญหา
- Keep a consistent camera height and light position across a product series.
- Do not describe edited images as an unaltered view if meaningful product details were changed.
คำถามที่พบบ่อย
How should I adapt this guide to my situation?
Begin with the small example, use the instructions for your actual materials or equipment, and change one thing at a time so the result can be checked.
What should I check before finishing?
Inspect the image at a useful size. Check sharpness, color and whether the product edges are clear, then adjust the angle or background before taking the final set.