Create a smooth curve between the tabletop and background. This worked guide uses a small reproducible example so you can check the result before adapting it to your own task.
ก่อนเริ่มต้น
- A large sheet of plain paper
- A table
- Clips or removable tape
- A small product
คำแนะนำทีละขั้นตอน
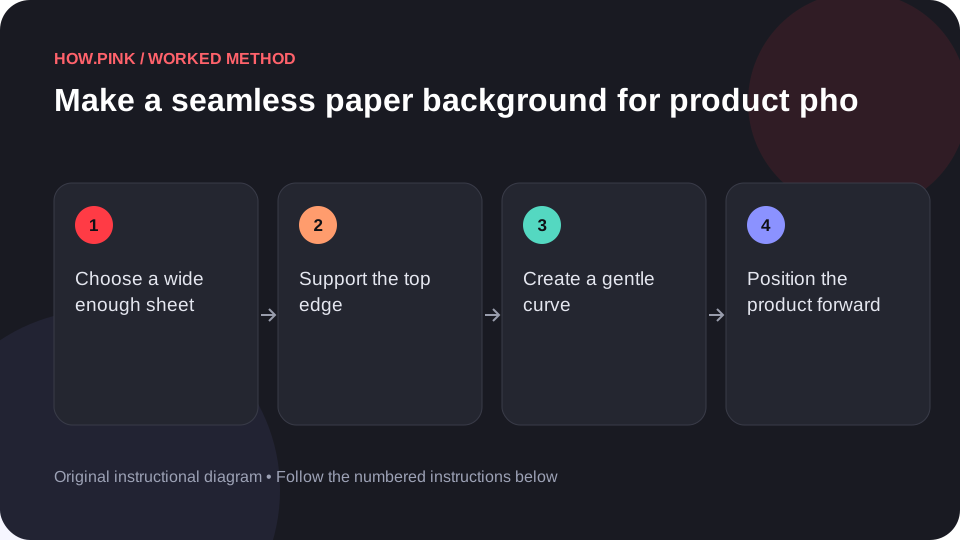
Choose a wide enough sheet
Use paper wider than the product and the intended frame. Avoid a sheet with visible folds or a glossy surface if reflections are distracting.

Support the top edge
Attach the upper edge to a stable vertical support using suitable clips or removable tape. Keep the support secure before placing the product.
Create a gentle curve
Let the paper bend smoothly onto the tabletop without creasing it. The curve replaces the visible corner between wall and table.
Position the product forward
Place the product on the horizontal section with space behind it. Frame the image so the paper edges and supports remain outside the picture.
Check the background in the frame
Take a test photo and look for creases, shadows or visible edges. Adjust the curve and lighting before photographing the full series.
เคล็ดลับและการแก้ปัญหา
- Keep heat sources and liquids away from the paper setup.
- A wider background gives more freedom to change the angle.
คำถามที่พบบ่อย
How should I adapt this guide to my situation?
Begin with the small example, use the instructions for your actual materials or equipment, and change one thing at a time so the result can be checked.
What should I check before finishing?
Take a test photo and look for creases, shadows or visible edges. Adjust the curve and lighting before photographing the full series.